Sliding sash windows are a timeless choice for both period properties and modern homes. Their elegant design, smooth operation, and ability to enhance natural light make them a favorite among homeowners. But while many appreciate their beauty, the process of installing new sliding sash windows can seem daunting, particularly for those approaching it for the first time. Whether you’re replacing old, draughty frames or upgrading to energy-efficient models, understanding each step in the installation process is key to achieving a perfect fit and lasting performance.
This comprehensive beginner’s guide will walk you through the essentials of installing new sliding sash windows, from preparation and measurement to the final finishing touches. You’ll also find a comparison table to help you choose between DIY installation and professional fitting, plus a handy FAQ section to address common concerns.
Understanding Sliding Sash Windows: Anatomy and Benefits
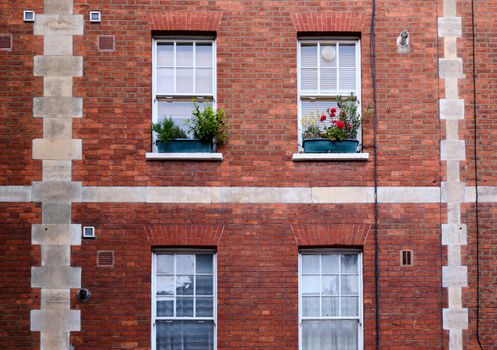
Before starting your installation, it’s helpful to become familiar with the basic anatomy of sliding sash windows. These windows consist of two moveable panels, or "sashes," that slide vertically to open and close. Traditionally, they are counterbalanced with weights or springs, allowing smooth movement and secure positioning.
.png) Key components include:
- Sashes: The panels that hold the glass, moving up and down within the frame.
- Frame: The outer structure that houses the sashes.
- Parting Bead: A strip that keeps the sashes in place and guides their movement.
- Staff Bead: The internal trim that holds the sashes inside the frame.
- Sash Cord or Spiral Balance: Mechanisms that balance the weight of the sashes for easy operation.
Sliding sash windows offer several advantages:
- Enhanced ventilation: Both sashes can be partially opened for optimal airflow.
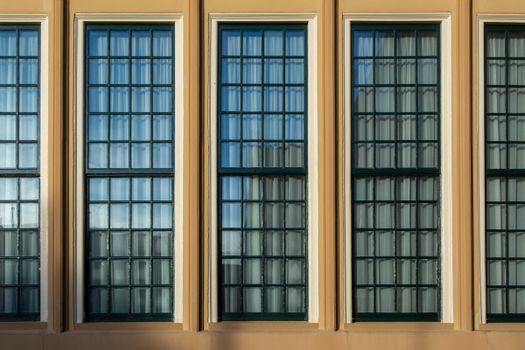
- Classic aesthetics: Their design suits both historic and contemporary homes.
- Energy efficiency: Modern sash windows can achieve U-values as low as 1.1 W/m²K with double glazing, greatly reducing heat loss.
Key components include:
- Sashes: The panels that hold the glass, moving up and down within the frame.
- Frame: The outer structure that houses the sashes.
- Parting Bead: A strip that keeps the sashes in place and guides their movement.
- Staff Bead: The internal trim that holds the sashes inside the frame.
- Sash Cord or Spiral Balance: Mechanisms that balance the weight of the sashes for easy operation.
Sliding sash windows offer several advantages:
- Enhanced ventilation: Both sashes can be partially opened for optimal airflow.
- Classic aesthetics: Their design suits both historic and contemporary homes.
- Energy efficiency: Modern sash windows can achieve U-values as low as 1.1 W/m²K with double glazing, greatly reducing heat loss.
According to a 2022 survey by the UK’s Glass and Glazing Federation, over 40% of homeowners chose sliding sash windows for their renovations due to their blend of heritage style and modern performance.
Preparing for Installation: Tools, Measurements, and Safety
Proper preparation is crucial for a successful window installation. Begin by assembling the necessary tools and ensuring you have accurate measurements of your window openings.
Essential tools and materials: - Tape measure (for precise measurement) - Spirit level (for ensuring a plumb and square fit) - Pry bar and hammer (for removing old frames) - Screwdrivers and drill (for securing the new frame) - Expanding foam or window sealant (for insulation) - Safety goggles and gloves Measurement tips: 1. Measure the width at three points: top, middle, and bottom of the window opening. 2. Measure the height at the left, center, and right sides. 3. Use the smallest measurements for width and height to ensure the new window fits without forcing.Safety should never be overlooked. Always wear protective eyewear and gloves, and be cautious of any lead paint or asbestos in older homes. If you suspect hazardous materials, consult a professional before proceeding.
Step-by-Step Guide: Removing Old Windows and Prepping the Opening
Removing your old window is often the trickiest part, especially in older properties. Follow these steps for a clean and damage-free removal:
1. Remove Interior Trim: Carefully pry away the staff bead and any interior mouldings using a pry bar. Save these if you plan to reuse or replicate them. 2. Extract the Sashes: Lower and remove the bottom sash, then the top sash. Cut the sash cords (if present) and let the weights drop into the frame cavity. 3. Remove Parting Bead: Gently pull out the parting bead to free the top sash channel. 4. Clear the Frame: Use a utility knife to slice through any paint or caulk sealing the old frame to the wall. Remove the old frame, checking for rot or damage in the surrounding masonry or timber. 5. Clean and Prepare: Vacuum debris, scrape away old paint, and repair any damage to the window reveal. Ensure the opening is dry and level.A clean, square, and solid opening is essential for the stability and weatherproofing of your new sash window.
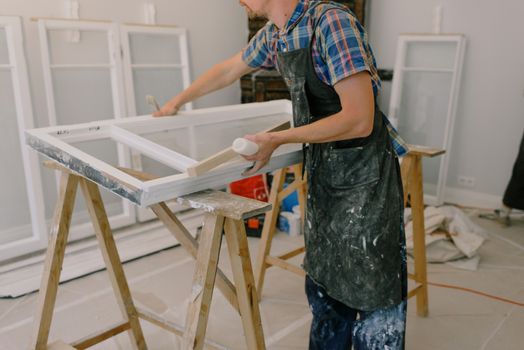
Installing Your New Sliding Sash Window: A Beginner-Friendly Process
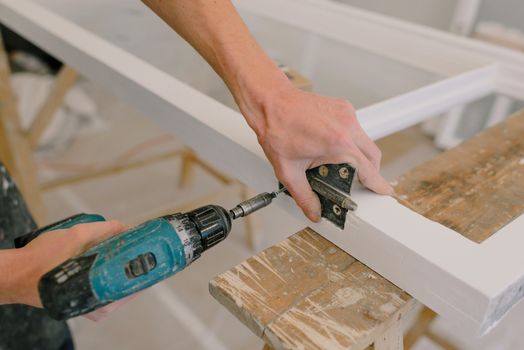
With the opening prepared, you’re ready to install your new sliding sash window. Here’s a simplified, step-by-step approach:
1. $1 Position the new window frame in the opening to check for fit. The frame should sit squarely with a small, even gap around all sides (typically 5-10mm). 2. $1 Use packers (small plastic or timber shims) to adjust the frame until it is perfectly level and plumb. Check with a spirit level on all sides. Temporarily fix the frame in place with a few screws. 3. $1 Once satisfied with the alignment, fully secure the frame using screws through pre-drilled holes, fixing into the surrounding masonry or timber. Do not overtighten, as this can distort the frame. 4. $1 Fill the gap around the frame with expanding foam or a specialist window sealant to prevent draughts and moisture ingress. Trim off any excess once cured. 5. $1 Insert the sashes according to the manufacturer’s instructions, ensuring smooth movement. Reinstall or replace the parting bead and staff bead to keep the sashes secure. 6. $1 Attach handles, locks, and sash lifts. Touch up any paintwork or trims as needed.Modern sliding sash windows are often supplied in pre-assembled kits, making installation much easier for beginners. According to market data, over 60% of new sash window installations use factory-finished, double-glazed units for improved efficiency and simpler fitting.
DIY vs. Professional Installation: What’s Right for You?
While DIY installation can save you money and offer personal satisfaction, it’s not always the best choice for every homeowner. Consider your skill level, the complexity of your property, and your available time.
Here’s a comparative overview to help you decide:
| Aspect | DIY Installation | Professional Installation |
|---|---|---|
| Cost | £300-£700 per window (materials only) | £600-£1,200 per window (including labour) |
| Time Required | 4-8 hours per window (for beginners) | 2-4 hours per window (experienced team) |
| Warranty | Product warranty only | Product + workmanship warranty (often 10 years) |
| Skill Level | Basic to intermediate DIY skills required | Expert fitting, handles complex situations |
| Risk | Potential for fit or insulation errors | Minimal risk, professional finish |
A 2023 study by the UK Home Improvement Association found that 72% of DIY window installations resulted in minor issues such as draughts or misalignment, compared to just 18% for professional fittings. For heritage or listed buildings, professional installation is strongly recommended due to strict planning and conservation requirements.
Ensuring Longevity: Post-Installation Checks and Maintenance
Correct installation is only the beginning. To maximise the lifespan and performance of your new sliding sash windows, follow these essential post-installation steps:
1. $1 Open and close both sashes several times to ensure smooth, balanced movement. There should be no sticking or rattling. 2. $1 Look for any gaps around the frame and ensure all seals are intact. Proper sealing is vital for energy efficiency and weatherproofing. 3. $1 Test all locking mechanisms for security and ease of use. 4. $1 Clean the tracks and lubricate moving parts every six months. Inspect for signs of moisture or condensation, addressing any issues promptly. 5. $1 If your windows are timber, repaint or stain as needed to protect against weathering. Modern finishes can last up to 8 years before needing renewal.According to Historic England, well-maintained sash windows can last over 100 years, far surpassing the typical 20-30 year lifespan of standard uPVC windows.
Final Thoughts on Installing New Sliding Sash Windows
Installing new sliding sash windows is a rewarding project that can dramatically improve your home’s comfort, energy efficiency, and appearance. While the process may seem complex, careful preparation, accurate measurement, and attention to detail will ensure a successful outcome—whether you choose a DIY approach or hire professionals. Remember to consider the specific needs of your property, especially if it’s a period or listed building, and always prioritise safety and long-term maintenance.
By following this beginner’s guide, you’ll be well-equipped to enjoy the timeless elegance and modern benefits of sliding sash windows for decades to come.