Installing sash windows enhances both the aesthetic appeal and functionality of a home. This style of window, known for its traditional design and operational ease, has been a favored choice in historical and modern buildings alike. This guide will provide you with essential insights and a comprehensive step-by-step process to install sash windows effectively, ensuring durability and performance.
Step 1: Choose the Right Sash Windows
Selecting the appropriate sash windows for your home is the foundational step. Sash windows are available in various styles, materials, and glazing options. Opt for wooden frames for a timeless appearance and good insulation or consider uPVC for increased durability and minimal maintenance. For the glazing, double-glazed windows are recommended for their superior thermal and acoustic insulation.
.png)
Step 2: Measure Accurately
The success of a sash window installation hinges on precise measurements. Measure the width and height from the inside of the existing frame at several points, as older structures may have shifted over time, leading to uneven measurements.
Step 3: Remove Old Windows
Carefully remove the existing windows to prevent any damage to the structure and frame. This step involves dismantling the old sashes, weights, and any beads while preserving the integrity of the window opening.
Step 4: Prepare the Frame
With the old window out, focus on preparing the frame for the new installation. Repair any damage, ensure the frame is square and level, and apply preservatives to wooden frames to prevent decay. This preparation is crucial for the window’s longevity and efficiency.
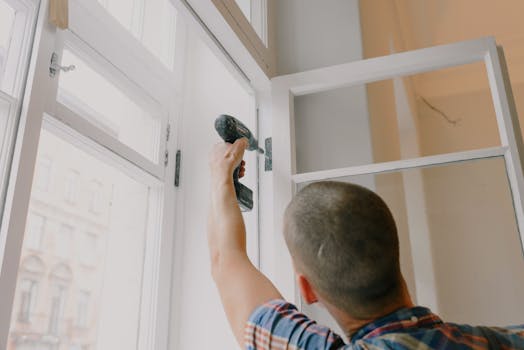
Step 5: Install the New Sash Windows
Begin the installation with the sill, followed by the jambs, and then place the sashes. If your window design uses weights and pulleys, install these components ensuring smooth operation. Proper alignment and operation are critical to prevent drafts and ensure functionality.
Step 6: Weatherproof and Seal
After installation, it's essential to seal and weatherproof the window to protect against the elements and enhance energy efficiency. Use quality caulking around the frame to seal off air gaps and apply weatherstripping for added insulation.
Step 7: Add Finishing Touches
The installation concludes with finishing touches such as painting or staining the frame to match your home’s interior, and fitting locks and other hardware. These not only improve the look of your windows but also enhance their security and functionality.
Maintenance Tips
Maintaining sash windows is key to their longevity. Regularly clean the glass, inspect the frames for damage, and lubricate the moving parts. Check and replace the sealing and weatherstripping as needed to sustain their insulative properties.
Conclusion
Properly installing sash windows is a meticulous process that, when done correctly, adds significant value and charm to your home. By adhering to these steps and regularly maintaining the windows, you can enjoy the traditional elegance and modern functionality of sash windows for many years. Whether restoring a vintage home or upgrading a modern residence, sash windows are a smart and stylish choice.