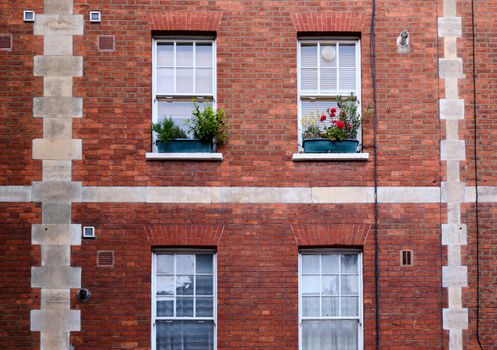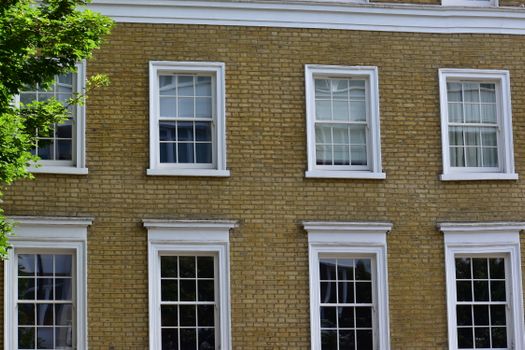
Restoring the charm and functionality of period homes often begins with their most distinctive features—sliding sash windows. These windows, with their elegant proportions and timeless appeal, are a hallmark of Georgian, Victorian, and Edwardian architecture. However, after decades of exposure to the elements, paint build-up, and general wear, even the most beautifully crafted sash windows can become difficult to open, draughty, or unsightly. Fortunately, with a methodical approach, homeowners can restore sliding sash windows to their former glory while improving efficiency and longevity. In this step-by-step guide, we’ll explore everything you need to know to restore sliding sash windows in your home, from initial assessment to the finishing touches.
The Importance of Restoring Sliding Sash Windows
Sliding sash windows are not just architectural ornaments; they are part of a home’s heritage, value, and everyday comfort. According to Historic England, over 80% of pre-1919 homes in the UK originally featured timber sash windows. Restoring them, rather than replacing with modern alternatives, preserves historic character and can even increase property values by up to 15%. Beyond aesthetics and value, original sash windows—when properly maintained or restored—can offer considerable energy efficiency. A study by the Glasgow Caledonian University found that refurbished timber sashes with draught-proofing can reduce heat loss by up to 30% compared to unrestored windows.
Restoration also offers sustainability benefits. The carbon footprint of repairing timber windows is significantly lower than manufacturing and installing new PVCu alternatives. In short, restoration is a win for your home, your wallet, and the planet.
.png)
Step 1: Inspection and Documentation
Every successful restoration project starts with a thorough inspection. Begin by examining each window to identify issues such as:
- Flaking or cracked paint - Rotten or damaged timber (especially at the sills and lower rails) - Broken sash cords or weights - Warped or stuck sashes - Damaged or missing hardware - Perished putty or loose glazingDocument these issues with photos and notes. This will help you source the right materials and plan your workflow. For listed buildings, be aware that original windows may require specific restoration methods to comply with conservation guidelines. If you are unsure, consult your local conservation officer before beginning work.
Step 2: Safe Removal and Disassembly
Sliding sash windows consist of two movable sashes, counterbalanced by hidden weights connected via cords. Restoring them often requires removing the sashes from the frame. Here’s how:
1. Remove interior window stops carefully to avoid breaking them; label and set aside. 2. Lower the bottom sash, cut the sash cords if needed, and gently lift it out. 3. Remove the parting bead to access the upper sash. 4. Lower the upper sash, disconnect its cords, and remove.Take care to support the weights with a temporary nail or tape to prevent them from dropping inside the frame. Lay each sash on a flat, clean surface for assessment and repair.
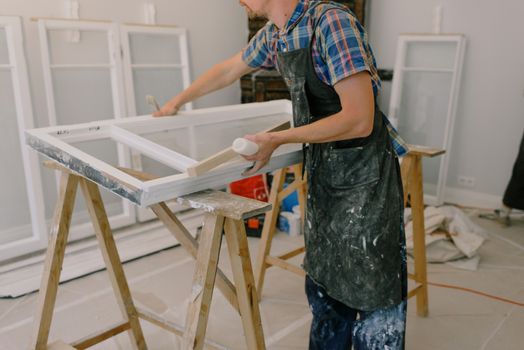
Step 3: Repairing Timber, Glazing, and Hardware
Now comes the most transformative part of the restoration process. Depending on your inspection, you may need to address timber decay, glass issues, or hardware malfunctions.
Timber Repairs: - Minor surface damage can often be filled with a two-part epoxy wood filler. - For deeper rot, cut out affected areas and splice in new matching timber using waterproof wood glue. - Sand all repairs flush and prime bare wood to prevent future decay. Glazing Repairs: - Remove old, cracked putty and replace with new linseed oil putty. - If glass panes are cracked or loose, replace with traditional single-glazing to maintain authenticity, or opt for slim-profile double glazing where regulations allow. - Clean all panes thoroughly. Hardware Restoration: - Clean and lubricate pulleys. - Replace missing or damaged sash lifts, fasteners, and locks with period-appropriate hardware—brass and iron are most common. - Check sash weights and cords; replace cords with waxed cotton sash cord for longevity.Step 4: Painting and Finishing
Proper finishing not only protects your restoration work but also enhances visual appeal. Here are the essentials:
- Use a high-quality wood primer on all bare and repaired areas. - Apply two coats of exterior-grade, microporous paint. This allows timber to "breathe" and helps prevent moisture buildup. - Paint the window sashes before reinstallation. Allow each coat to dry fully to avoid sticking. - For listed or historic homes, use traditional paint colours and finishes to comply with conservation standards.A 2022 survey by the British Coatings Federation found that properly painted and maintained timber windows can last over 60 years, compared to just 15-20 years for uPVC alternatives.
Step 5: Reassembly and Draught-Proofing
With repairs and painting complete, it's time to reassemble your sliding sash windows:
1. Replace or install new parting beads and staff beads with integrated draught-proofing strips. 2. Reattach sash cords to the weights, making sure the weights move freely and are correctly balanced for each sash. 3. Carefully reinstall the upper sash, followed by the parting bead, and then the lower sash. 4. Refit the interior window stops.Draught-proofing is a key step. According to the Energy Saving Trust, draught-proofing sash windows can save the average UK household around £60 per year on heating. Modern brush or foam strips are discreet and highly effective without compromising the window’s appearance.
Comparing DIY Restoration vs. Professional Restoration
Restoring sliding sash windows is a rewarding but labour-intensive process. Should you tackle it yourself or hire a specialist? Here’s a comparative breakdown:
| Aspect | DIY Restoration | Professional Restoration |
|---|---|---|
| Average Cost per Window | £80 – £200 (excluding tools/materials) |
£400 – £700 |
| Time Required | 10 – 20 hours per window | 4 – 8 hours per window |
| Skill Level | Intermediate – Advanced DIY | Expert |
| Finish Quality | Varies (depends on experience) | Consistently high |
| Warranty | None | Often 5+ years |
| Historic Compliance | Must self-research | Experience with listed buildings |
DIY can offer significant savings and satisfaction, especially if you have multiple windows. However, complex repairs, extensive rot, or listed building requirements may make professional restoration the better choice.
Final Thoughts: Bringing New Life to Old Sash Windows
Restoring sliding sash windows is more than a home improvement project—it’s a way of preserving history, enhancing comfort, and contributing to sustainability. With careful planning, the right materials, and attention to detail, even centuries-old windows can operate smoothly, look stunning, and offer modern energy performance. Whether you choose to tackle the task yourself or enlist a professional, the rewards are well worth the effort. Remember: every restored sash window is a piece of heritage that endures for generations to come.